Is your body grooming routine acting up? If you are stuck deciding between trimming vs shaving body hair, you are not alone. Let’s fix those annoying skin glitches and restore your confidence yourself.
Welcome to the definitive, science-backed playbook for your personal grooming protocol. As a senior grooming editor, I have tested countless tools and techniques. I know firsthand the daily struggle of achieving a clean look without suffering from painful razor burn.
We often grab whatever tool is closest to the bathroom sink. That is a massive mistake for your skin’s long-term health. Using the wrong tool on the wrong body part guarantees discomfort.
Today, we are fixing that. We will break down the exact biological mechanics behind these two popular methods. You will get a highly scannable, zone-by-zone body map to determine your perfect routine.
Stop guessing. Start grooming with absolute purpose to protect your skin barrier and look your absolute best.

Table of Contents
The Core Mechanics: What Happens to Your Skin?
To understand why your skin reacts the way it does, we must look closely at the epidermis. Removing hair is essentially a micro-trauma. Let’s explore how different tools interact with your delicate skin surface.
The Blade Effect (Shaving Mechanics)
When you drag a razor across your skin, you are not just cutting hair. You are performing intense physical exfoliation.
- Epidermal Scraping: A sharp blade scrapes away the top layer of dead skin cells.
- Barrier Disruption: This direct scraping disrupts your skin’s natural lipid barrier. Moisture escapes rapidly, leaving the area dry and vulnerable.
- Friction & Redness: This microscopic friction is the exact reason aggressive shaving leads to severe skin irritation shortly after stepping out of the shower.
Expert Tip: Cutting the hair below the skin’s surface creates a sharp, blunt tip. As this blunt tip grows back through the healing follicle, it easily gets trapped, causing painful ingrown hairs.
The Guard Effect (Trimming Mechanics)
Using an electric trimmer is a completely different mechanical process. Instead of scraping the skin, the trimmer teeth act like rapid, tiny scissors.
- Zero Skin Contact: The cutting blade never actually touches your raw skin. This completely eliminates the risk of micro-abrasions.
- Barrier Protection: Because you aren’t scraping the surface, you maintain your crucial lipid barrier and natural skin hydration.
- The Buffer Zone: By leaving a fraction of a millimeter of hair above the surface, the hair never has to fight its way back out of the pore.
This tiny buffer zone is your best defense against folliculitis. You sacrifice a little bit of smoothness, but you gain incredible comfort and flawless skin texture.
Trimming vs Shaving Body Hair: A Zone-by-Zone Body Map
You rarely need just one single method. The secret to an elite routine is using a hybrid approach. Skin thickness and hair density vary wildly across your body. Here is your ultimate zone guide.
1. The Upper Body (Chest and Torso)
For the chest and stomach, an electric trimmer is almost always the superior choice.
- Avoid the Itch: If you use a razor here, you will face the dreaded “prickly shirt” phase. Blunt stubble growing back against your clothing creates maddening itching.
- Aesthetic Control: Taking down the length with a number one or two guard leaves the chest looking naturally neat.
- Acne Prevention: Trimming prevents sweat-trapping bushiness without causing severe chest acne from razor friction.
2. The Underarms
The underarms are a hotly debated zone. Many prefer the ultra-smooth feel of a razor to apply deodorant effectively.
- The Friction Problem: The underarm is a high-friction joint. Sweating and arm movement immediately following a close shave causes agonizing chafing.
- The Hybrid Solution: Shave only if you use a rich shaving cream and a brand-new blade. Moisturize heavily afterward.
- The Trimmer Alternative: Alternatively, use a trimmer with no guard. It gets incredibly close without causing the microscopic cuts that sting when you apply antiperspirant.
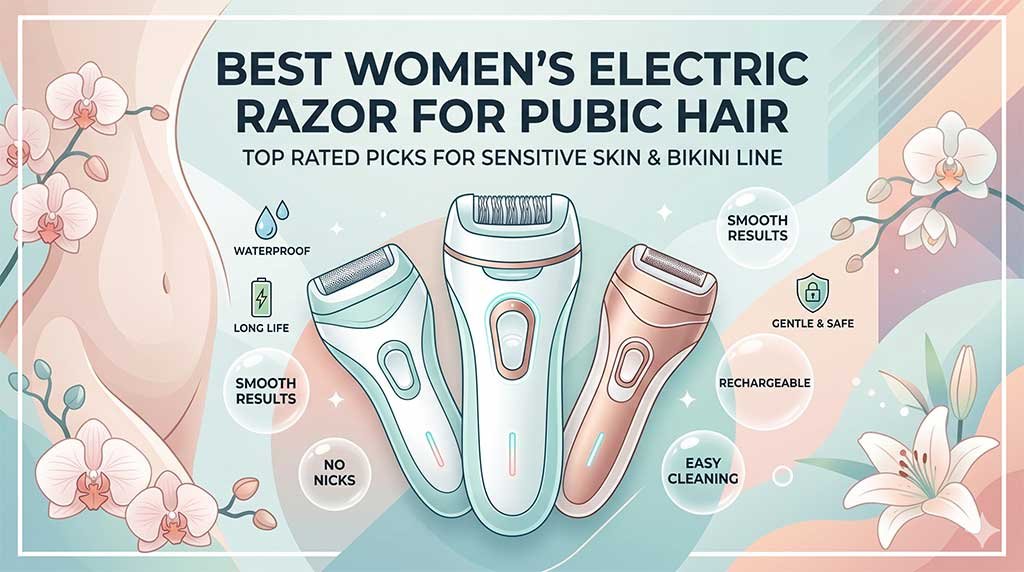
3. The Groin & Highly Sensitive Areas
This is where mistakes are paid for in blood. The skin around your sensitive areas is highly vascular, loose, and incredibly delicate.
- Safety First: Taking a multi-blade razor to this zone without perfect technique is an invitation for severe skin irritation and cuts.
- The Go-To Tool: Always default to a body-specific trimmer here.
- Hover Technique: Use a specialized sensitive skin guard to hover just above the skin. You keep things perfectly hygienic while completely eliminating the fear of nicks.
4. The Lower Body (Legs and Calves)
Legs are traditionally a razor’s domain. The skin on your shins and calves is significantly tougher than your chest or groin.
- The Sleek Finish: A high-quality razor provides that satisfying, sleek finish that feels amazing against clothing or fresh bed sheets.
- Manageable Regrowth: Stubble here is manageable because clothing friction is generally lower on the lower legs.
- Exfoliation Bonus: Shaving the legs acts as an excellent mechanical exfoliator for tough lower-body skin.
5. The Back and Shoulders
Reaching your back with a razor is not only difficult, it is dangerous.
- Speed and Safety: Trimming is the only logical choice here. Having a partner run a trimmer over your back takes seconds.
- Zero Breakouts: The back is highly prone to cystic acne. Scraping it with a razor guarantees a breakout.
- Long-Lasting Comfort: Trimming spares you weeks of painful itching when wearing a backpack or sitting in a desk chair.
Pros and Cons: A Data-Driven Comparison
Let’s look at the hard facts. Choosing your weapon comes down to balancing speed, aesthetic goals, and your personal tolerance for maintenance.
Here is a highly scannable breakdown of how the two methods stack up.
Grooming Factor | The Razor Method | The Trimmer Method |
Speed & Setup Time | Slow. Requires wet skin, thick lather, and very careful, deliberate strokes. | Lightning fast. Can be done completely dry anywhere in your bathroom. |
Regrowth Timeline | 1 to 3 days before noticeable, sharp, and uncomfortable stubble appears. | Immediate, but the regrowth is soft, flexible, and unnoticeable for a week. |
Skin Irritation Risk | Very High. Highly prone to razor burn, micro-cuts, and trapped hairs. | Extremely Low. The metal blade never touches the raw skin surface. |
Optimal Body Zones | Legs, outer arms, and areas requiring a flawless, baby-smooth finish. | Chest, groin, back, underarms, and highly sensitive, acne-prone skin. |
Travel Friendliness | Requires packing creams, extra blades, and post-shave balms. | Highly portable. Just pack the device, its charger, and one adjustable guard. |
Debunking the Biggest Myth: Does Shaving Make Hair Thicker?
We have all heard the warning: “If you shave it, it will grow back thicker and darker.” Let’s permanently crush this myth right now.
- Biological Fact: Cutting dead protein at the skin’s surface cannot alter your DNA or the thickness of the follicle root.
- The Natural Taper: A natural, uncut hair tapers at the end, much like a flexible spear. It feels soft to the touch.
- The Blunt Cut: When you use a razor, you slice that hair cleanly across the thickest part of its base.
- The Optical Illusion: As it breaches the skin, you feel that blunt, thick edge. Because the tip is flat, it reflects light differently, making it look darker and coarser.
It is the exact same hair; it just lost its soft, tapered point.
The Economic and Environmental Footprint
Your body grooming routine has a hidden cost, both to your wallet and the planet. Let’s compare the real-world lifecycle of these tools.
The True Cost of Razors
- Continuous Expense: Disposable razors and replacement cartridges are incredibly expensive over a five-year period.
- The Supply Chain: You are constantly buying new blades, specialized gels, and soothing aftercare lotions to combat the inevitable irritation.
- Environmental Nightmare: Billions of plastic handles and non-recyclable blade cartridges end up in landfills every single year. The environmental toll is staggering.
The Trimmer Investment
- Upfront Cost: An electric trimmer requires a higher initial investment, but a premium device easily lasts for years.
- Low Maintenance: With occasional blade oil and proper cleaning, it costs pennies per month to operate.
- High ROI: You eliminate the endless cycle of buying plastics and aerosols. The machine usually pays for itself within the first three months.
Step-by-Step Prep and Post-Care Routines
You cannot just attack your hair and expect flawless results. Preparation and recovery are what separate amateurs from grooming experts.
The Perfect Shaving Routine
Follow these precise steps to minimize trauma when using a razor:
- Hydrate First: Never drag a blade across dry skin. Spend at least five minutes in a warm shower to let the steam soften the hair cuticles.
- Apply Protection: Apply a thick layer of high-quality, transparent shaving cream. Transparency allows you to see the actual grain of your hair.
- Map the Grain: Always glide the razor in the direction the hair naturally grows. Going against the grain guarantees trapped ingrown hairs.
- Gentle Drying: Afterward, pat the skin dry with a clean towel. Never rub, as this aggravates the freshly exfoliated skin.
- Soothe & Protect: Immediately apply a soothing, non-comedogenic moisturizer containing aloe or salicylic acid to calm the trauma.
The Perfect Trimming Routine
Unlike a razor, an electric device requires a completely different approach:
- Dry Everything: A trimmer works best on bone-dry skin. Wet hair clumps together and bends flat, causing the teeth to painfully snag.
- Use Body Powder: Towel off completely. Apply a light dusting of body powder to high-friction areas to ensure a smooth glide.
- Pull Skin Taught: For loose skin areas, pull the skin tight with your free hand to create a flat canvas for the guard.
- Clear the Mechanism: After you finish, brush the loose hairs out of the device mechanism immediately.
- Sanitize the Tool: Disinfect the metal guard and the blade head with rubbing alcohol to kill bacteria before your next session.
Troubleshooting Common Skin Issues
Even with perfect technique, you might still encounter occasional flare-ups. Here is how to handle the most common grooming glitches rapidly.
- Dealing with Red Bumps: If red bumps appear a day after grooming, stop immediately. Do not exfoliate the area with harsh physical scrubs; you will only anger the follicles.
- Chemical Exfoliation: Switch to a chemical exfoliant like a gentle AHA/BHA body wash. This dissolves the dead skin cells blocking the pore without any physical friction.
- Fading Dark Spots: For persistent dark spots from old ingrown hairs, patience is vital. Keep the skin heavily moisturized with a lotion containing niacinamide to fade hyperpigmentation.
- The Healing Phase: Always default back to a guard-equipped electric trimmer while your skin is actively healing from a bad breakout. Give your lipid barrier time to rebuild.
Conclusion
Mastering your personal routine does not have to be complicated. The right choice completely depends on your skin’s tolerance and your daily schedule.
For highly sensitive zones, using an electric groomer remains the undeniable champion of comfort and speed. Conversely, a sharp blade delivers that unbeatable, polished look for larger, tougher surface areas like the legs.
The most effective strategy always combines both tools. By understanding the true mechanics of trimming vs shaving body hair, you can treat each specific area of your body exactly how it demands. Equip yourself properly, fix those grooming glitches, and restore your skin’s natural, healthy appearance yourself.
Leave a Reply